Mold in a humidifier is a serious health hazard that can affect anyone. In fact, their spores can cause allergic reactions like respiratory infections, wheezing, itchy skin and eyes, and even asthma. Therefore, keeping your device free of any risky particle growth is important.
Let’s head towards and quickly learn the main causes of mold growth and how to tackle this issue!
Quick Answer
If you use a humidifier to increase the moisture levels in your home, you might experience mold issues. These appear in black/pink/green spots on the device. The most common causes of this fungal growth are:
- Lack of regular cleaning of the machine,
- High levels of humidity in the surroundings,
- Use of tap water instead of distilled water.
No doubt, mold harms your health, but you can get rid of it with a little effort. However, only removing is not enough. You have to eliminate it from your house completely. So how can you do that?
Continue reading to learn more about different types of mold, the 3-step cleaning process, and other important considerations for having a mold-free humidifier.
The Growth Risk of Black Mold in a Humidifier
Black mold in a humidifier is one of the most common types of fungal growth. Going by the name Stachybotrys chartarum, it produces green or black spores that can cause serious allergic reactions. Some people have even reported chronic fatigue syndrome and memory loss.

This type of growth in a humidifier is caused due to:
- Excessive moisture,
- Poor maintenance practices,
- Not using disinfectants like RMR-141 Disinfectant Spray Cleaner.
If there is a black mold in your device, you must have to remove it as soon as possible since it can damage your humidifier as well as your health. Now let’s learn about another type of mold below.
Read Also: Can A Dehumidifier Spread Mold Spores?
The Issue of Pink Mold in the Humidifier
Pink mold in the humidifier is another problem that requires your attention. Bacteria and fungi cause this type of growth. It can be found in pink, red, or orange slimy mineral deposits on the surface of your humidifier’s tank or filter.
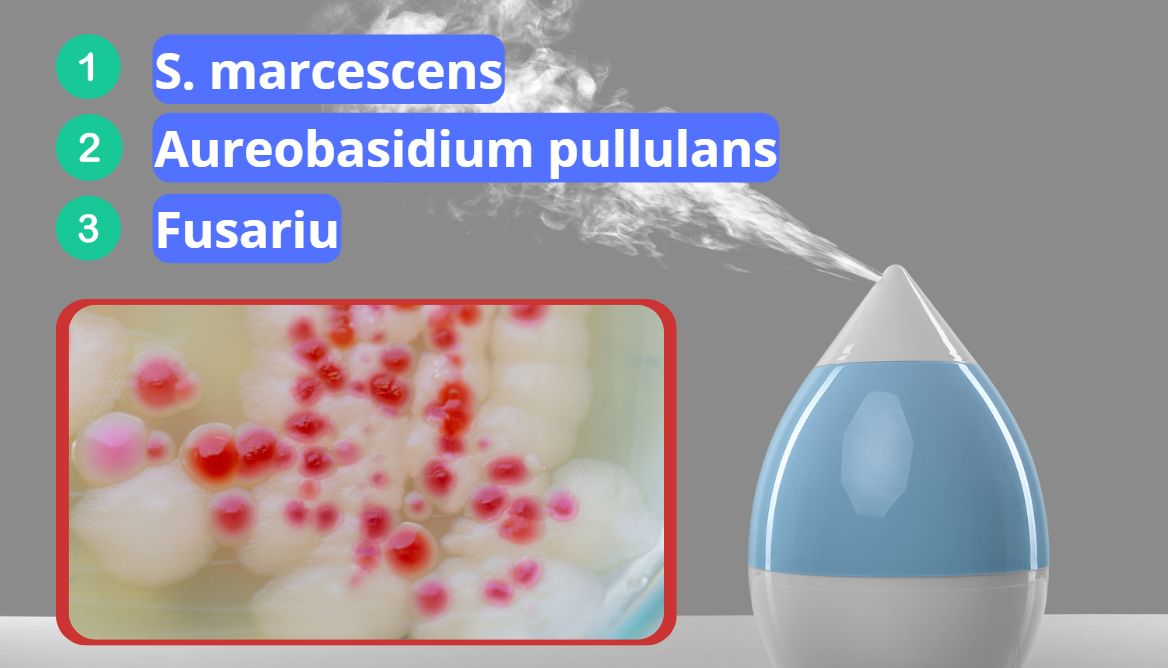
Below are its types:
- S. marcescens: This type is caused by bacteria called Serratia marcescens and gives rise to pink/reddish color slime.
- Aureobasidium pullulans: It is a type of fungi that grows in bathrooms and ranges from off-white or yellow to pink.
- Fusariu: It is a rare fungus that mostly grows on plants. But it can also grow in the humidifier and appears white to yellow.
While pink mold may not pose significant health risks, it can cause harm like urinary tract infections as well as intestinal problems. To get a mold-free humidifier, you must disinfect regularly to prevent this hazardous bacteria growth.
3 Simple and Effective Methods to Clean a Humidifier with Mold
Removing a mold is quite simple. If you don’t have enough time, act quickly with my 3-step guide given below. Depending on the type of mold, you’ll get rid of the fungus in less than one hour. Keep reading below to learn more.
Essential Supplies for Removing Mold and Bacteria Growth From a Humidifier
You’ll need a few important things to effectively remove the mold problem from a humidifier. Here’s a quick rundown of these items:
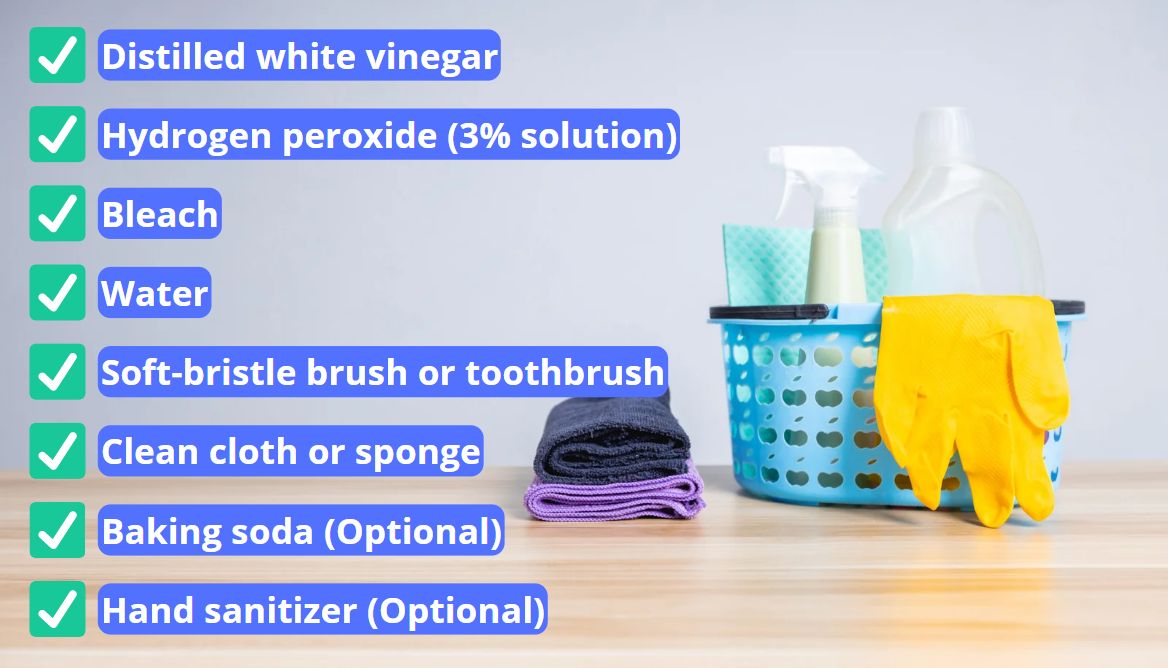
- Distilled white vinegar or hydrogen peroxide (3% solution) or bleach
- Water
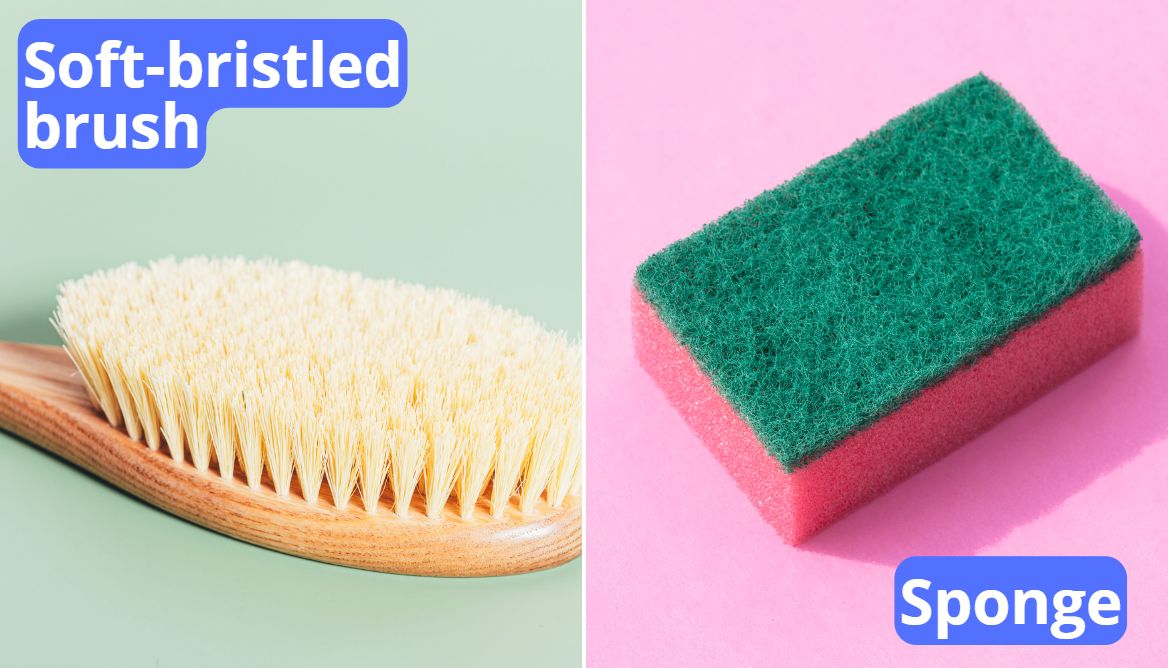
- Soft-bristle brush or toothbrush
- Clean cloth or sponge
- Baking soda (Optional)
- Hand sanitizer (Optional)
The Best Way to Clean Moldy Humidifiers
If you want to save time, here is a quick guide that can help you to clean your unit or water tank in less than 30 to 60 minutes (depending on the type of growth).
Before the procedure, turn off your humidifier and drain it. Let’s get started:
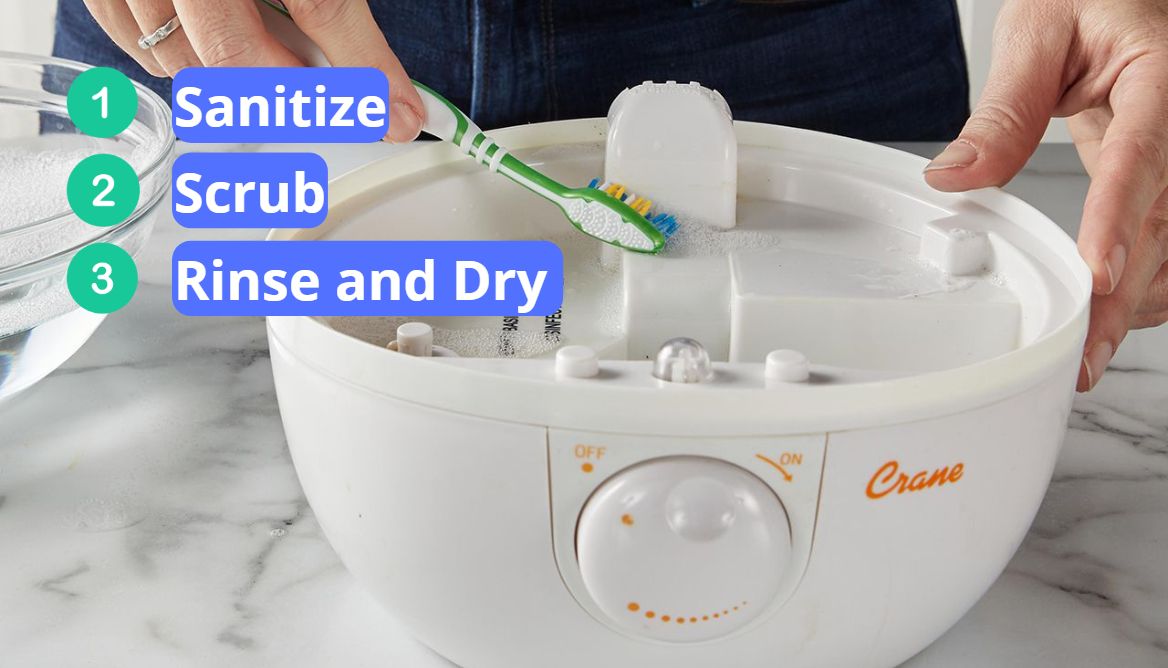
1. Sanitize
A properly sanitized humidifier ensures the removal of harmful bacteria and mold growth. Here is how you can perform sanitization:
- To remove a light mold, mix a solution of 4 parts of water and 1 part of distilled white vinegar or hydrogen peroxide.
- Apply this mixture to thoroughly sanitize the interior surfaces of the humidifier, including tanks or trays.
- Pour the blend over the mold and allow it to sit for about 15 minutes to kill spores effectively.
- Repeat the process for all the infected parts of the humidifier, except the filter or electrical components.
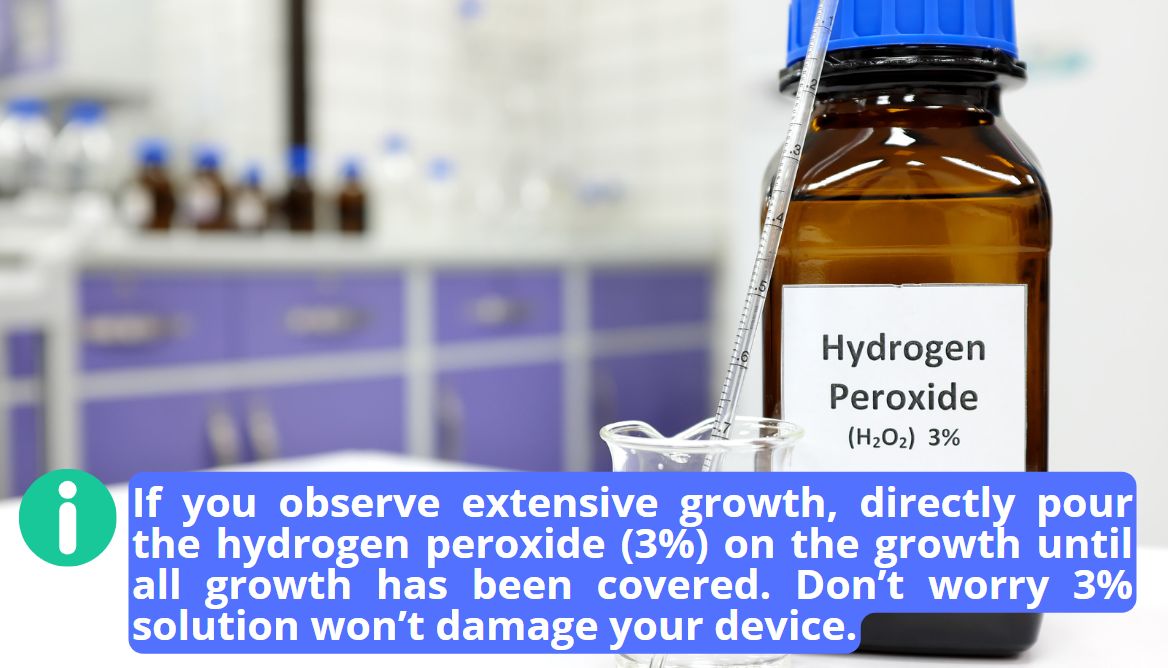
- If you observe extensive growth, directly pour the hydrogen peroxide (3%) on the growth until all growth has been covered. Don’t worry 3% solution won’t damage your device.
2. Scrub
A thorough scrubbing is required for the complete removal of mold as well as any residual contaminants. The given steps can help you in this process:
- In case you observe stubborn stains or for enhanced cleaning, make a paste by mixing 1 part baking soda with 3 parts hydrogen peroxide.
- Then apply this solution with the help of a brush and rub it all over until all the mold is disappeared.
- Use a soft-bristled brush or sponge to gently scrub the humidifier’s water tank parts.
- Pay special attention to the corners where mold can hide.
- You can also use a cotton swab or a toothpick to reach the hard-to-clean areas. This will help ensure a thorough cleaning.
3. Rinse and Dry
Lastly, rinse all the areas where you have applied the sanitization mixture with water to remove any residue.
- Wipe them dry with a clean cloth or let them air dry completely before reassembling the humidifier.
- Mind it; the drying step can take 2 or 3 hours. Use a blower if you are in a hurry.
For more insights, check out this video.
How Frequently Should You Clean Your Humidifier?
Cleaning your humidifier is not a one-time task. Here are some general guidelines for long-term maintenance:
- Rinse and dry the water tank every day. Empty and wash it with soap and water daily. Dry it thoroughly before refilling it with fresh water.
- As per U.S. EPA recommendations, clean your humidifier at least twice weekly to prevent mold and bacteria buildup.
- Use vinegar, bleach, or hydrogen peroxide to sanitize the humidifier parts and kill mold spores. Avoid using chlorine for this purpose.
- If you don’t see any visible mold growth, simply wipe down the unit with baking soda after 3 days.
- However, if there is heavy growth, use my recommended method to do a deep cleaning using hydrogen peroxide every several days. A 2017 EPA study also supports the use of hydrogen peroxide.
3 Important Considerations for Humidifier Filters and Mold Cleaning
Listed below are some important things to consider regarding the maintenance of humidifier filters. Let’s check them out:
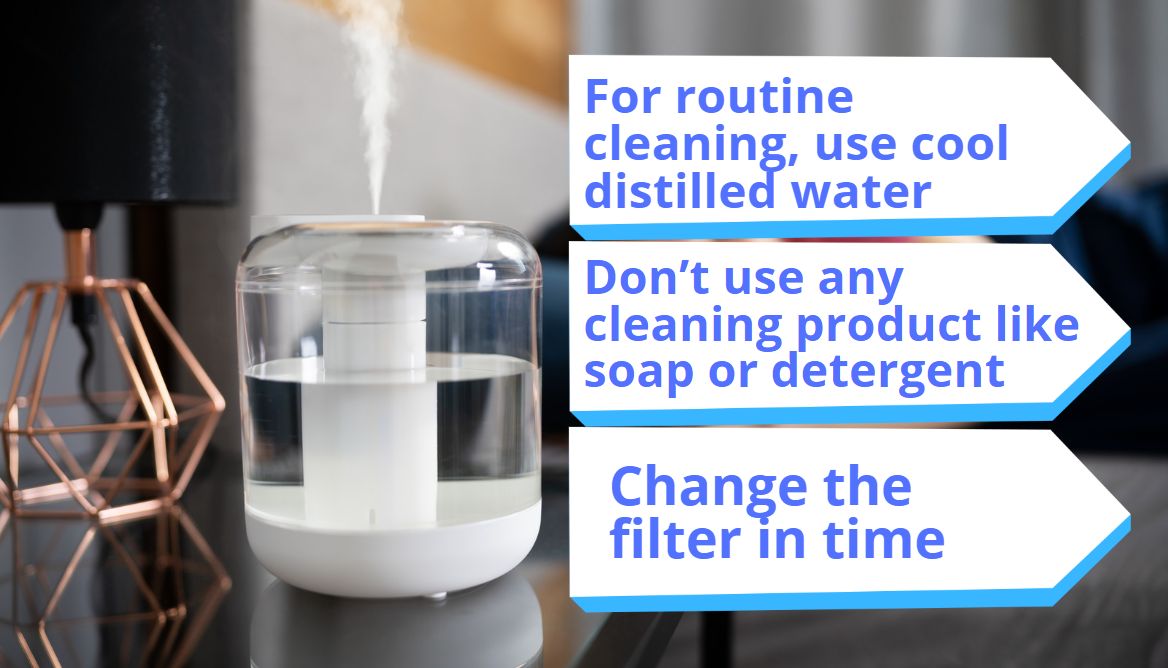
- For routine cleaning, use cool distilled water. This will help remove any dust or dirt.
- Don’t use any cleaning product like soap or detergent, as this can destroy the antimicrobial layer on the filter.
- If there is any sign of wear or discoloration, it’s time to change the filter. Read your humidifier’s manual related to filter cleaning and replacement.
Valuable Tips for Mold Spores Cleaning and Optimal Humidifier Usage
Besides cleaning your humidifier regularly, some special insights can help you prevent mold and improve the air quality in your home.
The following are these bonus tips:
- Regularly change the water in your humidifier to prevent mold growth.
- Use distilled or demineralized water to fill your humidifier. Tap water contains minerals and can create a breeding environment for mold.
- Monitor the humidity of your room and target 30-50% levels. Too much moisture promotes fungal growth.
- Keep the doors and windows open while using a humidifier to improve air circulation.
- If you plan to store your humidifier for a long time, clean it per my suggested 3-step guideline. Ensure that it is properly dried before placing it away.
3 Things To Keep In Mind For Replacing The Unit!
Sometimes, cleaning your humidifier may not be enough to prevent mold and other problems. You may need to replace your device if you suspect the following signs:
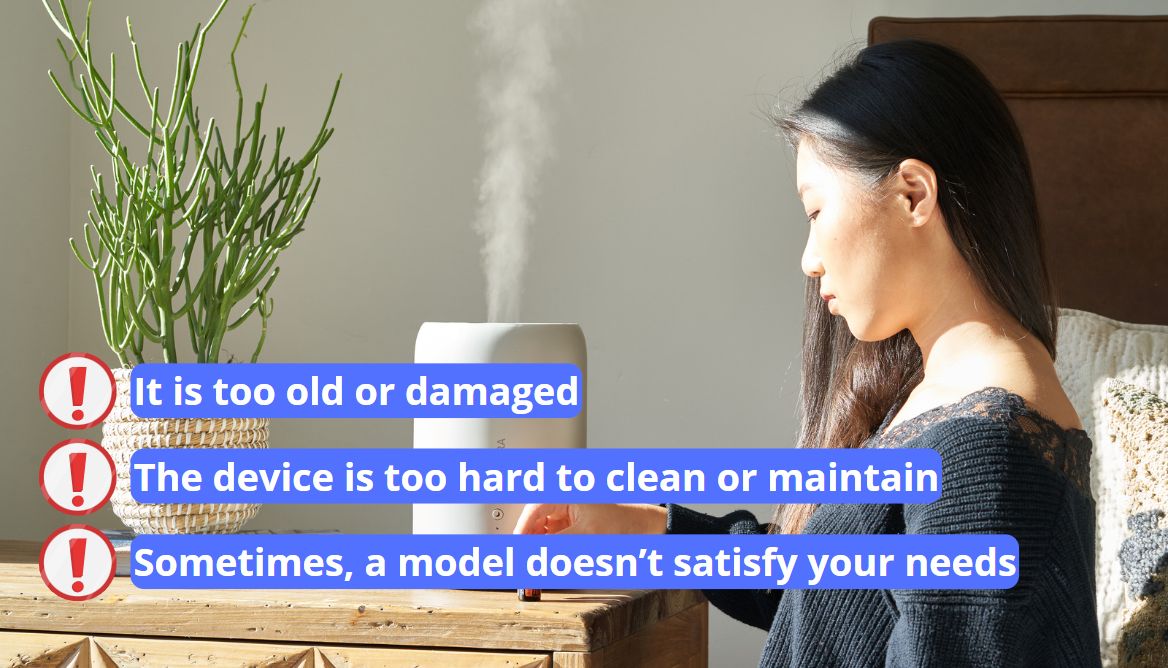
- It is too old or damaged: If your device is over 5 years and has visible cracks, it’s time for a new one.
- The device is too hard to clean or maintain: If certain humidifier parts are difficult to clean and have significant mold growth, replacing the entire humidifier with a new one may be best.
- Sometimes, a model doesn’t satisfy your needs: It may have old hardware or doesn’t function properly. Again, you have to buy a new one.
In short, a humidifier will last only a few years, depending on the model. You have to buy a new one if there are hard symptoms of plaque or mold.
Read Also:
Best Dyson Air Purifier: 7 Great Units For Healthy Air
Best Air Scrubber for Mold: 9 Top-Tier Products of 2025
FAQ
Is it safe to use a moldy humidifier?
No, using a moldy humidifier is unsafe as it can release mold spores into the air. This can cause potential health issues. Therefore, you should clean your humidifier regularly.
What happens if there is mold in a humidifier?
Mold in a humidifier can worsen indoor air quality and lead to respiratory problems or allergic reactions.
How do I keep mold out of my humidifier?
To keep mold out of your humidifier, clean and disinfect it regularly, use distilled water, and ensure proper ventilation.
Do humidifiers get black mold?
Yes, humidifiers can develop black mold if not properly cleaned. It usually occurs in the presence of extra moisture. You can prevent block mold growth by properly maintaining your device.
Conclusion
A humidifier is a great device to improve indoor air quality, but only if you keep it clean. If you see any mold growth in your unit, it is better to eliminate it immediately. You can remove mold by using white vinegar or baking soda for this purpose.
If you suspect heavy growth, use hydrogen peroxide for deep cleaning. But please keep in mind that it is always better to prevent a problem than to correct it. So regular maintenance, using distilled water, and following the manufacturer’s instructions are key preventative factors for a mold-free, functioning unit.

Danny is a passionate writer who loves to share his knowledge about air purifiers. He’s been writing for 10 years, and he’ll share all that experience with Very Well Home viewers to help you make the best decision when it’s time to buy an appliance!


