Was your robot vacuum working just fine until it suddenly stopped charging? You are clueless about why Shark ION Robot not charging and how you can fix it. Then this guide is for you.
Let’s dive into the details!
Quick Answer
If your Shark Ion vacuum is not charging, there must be an issue with the
- Power outlet,
- Charging dock, or
- Robot vacuum.
The first thing you must check is the power switch. It must be on. If that is in order, inspect if the green light on the charging dock is glowing. If it is not, the problem might be a faulty wall outlet.
Keep reading to find more reasons why your Shark Ion robot vacuum not charging and the detailed steps to solve your problem!
Why Is My Shark Ion Robot Vacuum Not Charging?
The most common reasons why your Shark robot vacuum is not charging are:
- The shark robot power switch is off.
- Faulty power outlet.
- The charging dock has damaged components like loose charging contact springs.
- The battery is worn out and needs replacement.
- Dirt and debris clog the sensors or charging contacts.
- Malfunctioning or broken robot vacuum component.
- The battery is not connected correctly.
- The charging dock is placed on a dark carpet.
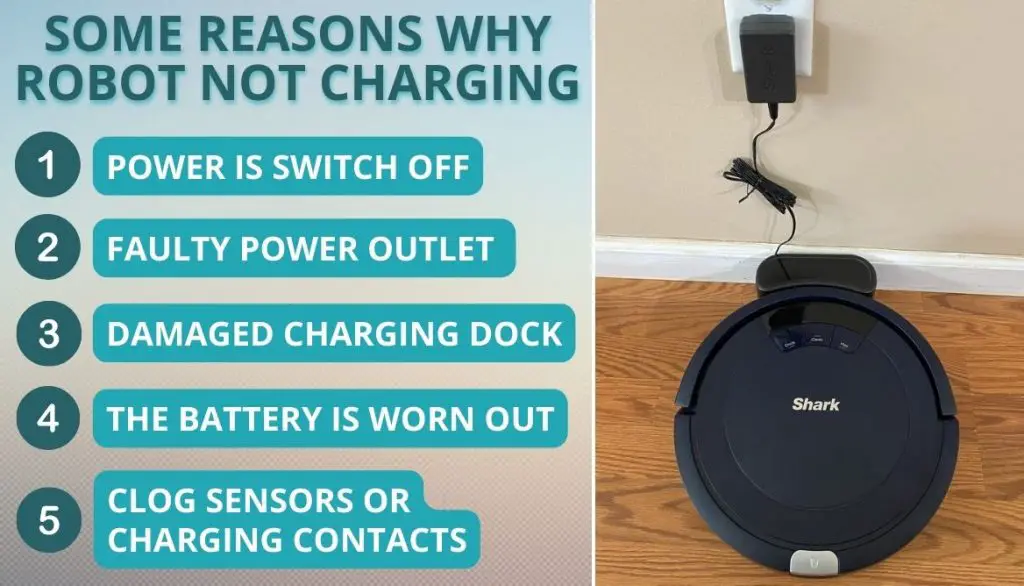
Let’s find out how you can fix the Shark robot charging problem.
Fixing Shark Robot Vacuum Not Charging
Here are the 10 solutions to fix your Shark vacuum not charging issue:
- Check if the power switch is on.
- Inspect if the power source is working.
- Relocate the charging dock from the carpet to a hard floor.
- Clean the charging contacts and sensors.
- Clean the charging dock surface.
- Make sure the robot is aligned correctly on the charging dock.
- Inspect if the charging contacts have weak springs.
- Remove the battery. Re-install it in the robot.
- Replace the worn-out battery.
- Get professional help from Shark support.
I will walk you through each one of them in detail. Buy a new battery or vacuum charger only after trying the first eight solutions.
1. Check The Power Button On The Side Of The Robot Vacuum
The Shark robot has a power button on the side. When the vacuum bumps into walls or objects, there is a high possibility that the power switch turns off accidentally.
Many users forget that there is a power button in the Shark robot because most robot vacuums do not have it. Switch on the power button to charge your Shark vacuum cleaner.
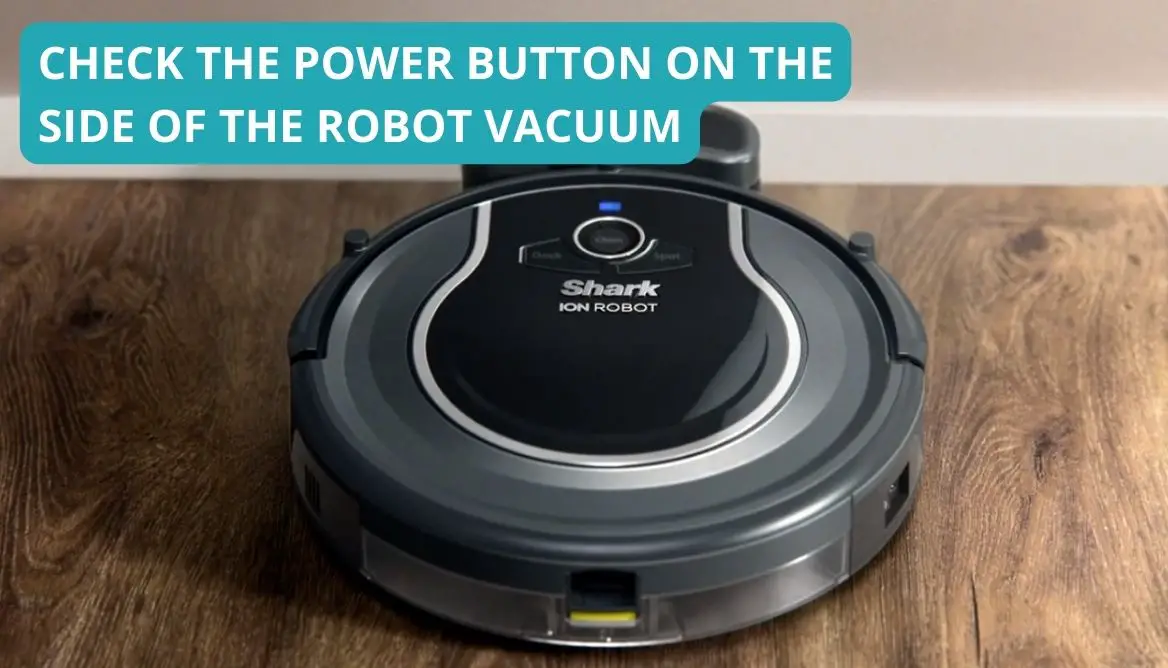
Steps to Switch on the Power Button
- Locate the power switch on the side of the vacuum
- Press down on the “-” symbol to switch it on.
The “o” symbol is for switching off the vacuum.
If the power switch is on and the Shark vacuum is still not charging, keep reading to find the issue and steps to fix it.
2. Check If The Power Source Is Working
Sometimes the fault is in the source. You need to ensure that the power source is working efficiently. Also, check if it has the capacity to charge the robot vacuum.
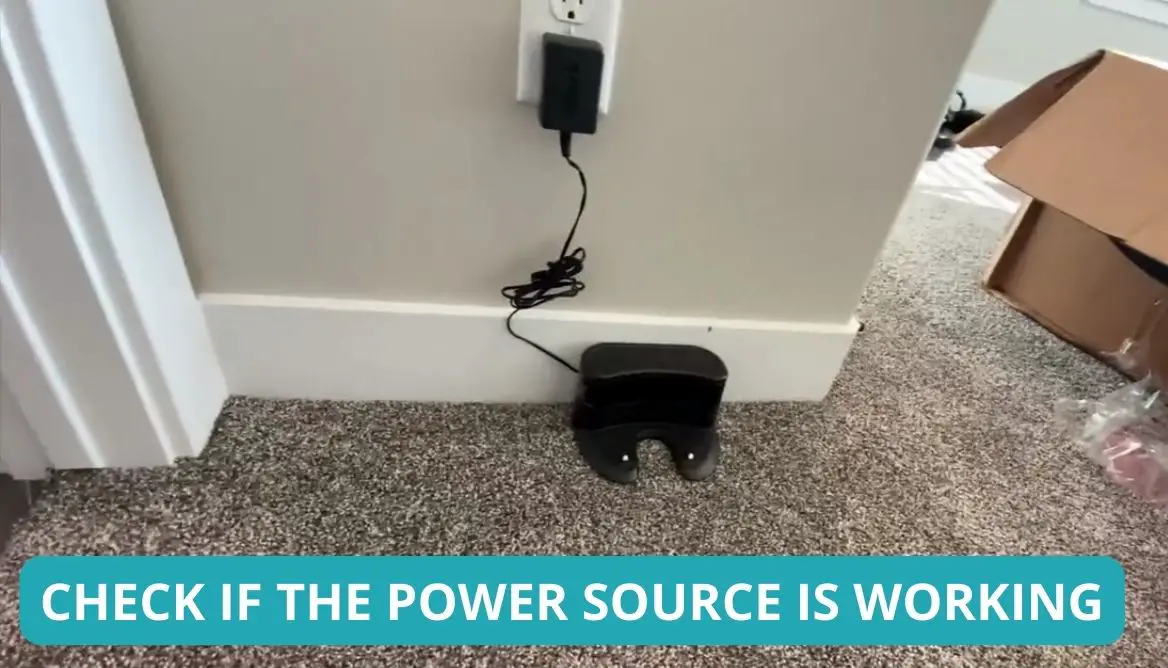
Steps to Check the Power Source
- Check if the green light on the side of the docking station is glowing. It indicates that the wall outlet is working.
- Try charging another device, like a mobile phone, with the same outlet to test if the outlet is functioning.
- Use an outlet tester for accurate results.
- Check if the charging station cord is plugged securely at both ends.
- If the power outlet is not working, connect the vacuum charger to a different outlet.
- Instead of using a power strip, connect the dock directly to a wall outlet.
If the power outlet is working and the light on the charging station is off or blinking, the fault is with the dock itself. We will address this problem in the later points.
3. Relocate The Charging Dock To A Hard Floor
Shark robot vacuums return to their charging dock when the battery is low. They navigate using sensors and infrared lights.
If the charging station is placed on a carpet, the robot vacuum might have trouble reaching the charging station. Here is what you must do to solve this problem.
Steps to Relocate the Charging Dock
- Place the charging dock on a hard floor and lean it against the wall.
- Clean the objects surrounding the docking station to make them easily accessible.
Place the dock in an open area with enough space for the robot vacuum to dock comfortably.
If the placement of the charging station is not the problem, the problem might be with the Shark robot.
4. Clean The Shark Robot Vacuum
Shark robot vacuums need regular maintenance for optimal performance.
With use, dirt and debris clog up the robot sensors and components. Hence the robot has trouble charging or navigating. Here is how to clean the vacuum.
Steps to Clean the Shark Vacuum Sensors
- You will find the infrared lights within the front bumper. To access them, remove the semicircular plate of the front bumper.
- Clean the infrared lights with an earbud.
- Next, flip the Shark robot vacuum upside down.
- Clean the cliff and boundary sensors located right behind the front bumper.
- Clean the charging contacts with a dry microfiber cloth. They are situated behind the cliff sensors.
The most crucial step is to clean the Shark robot’s charging contacts. A clogged-up charging contact will not absorb power from the charging station.
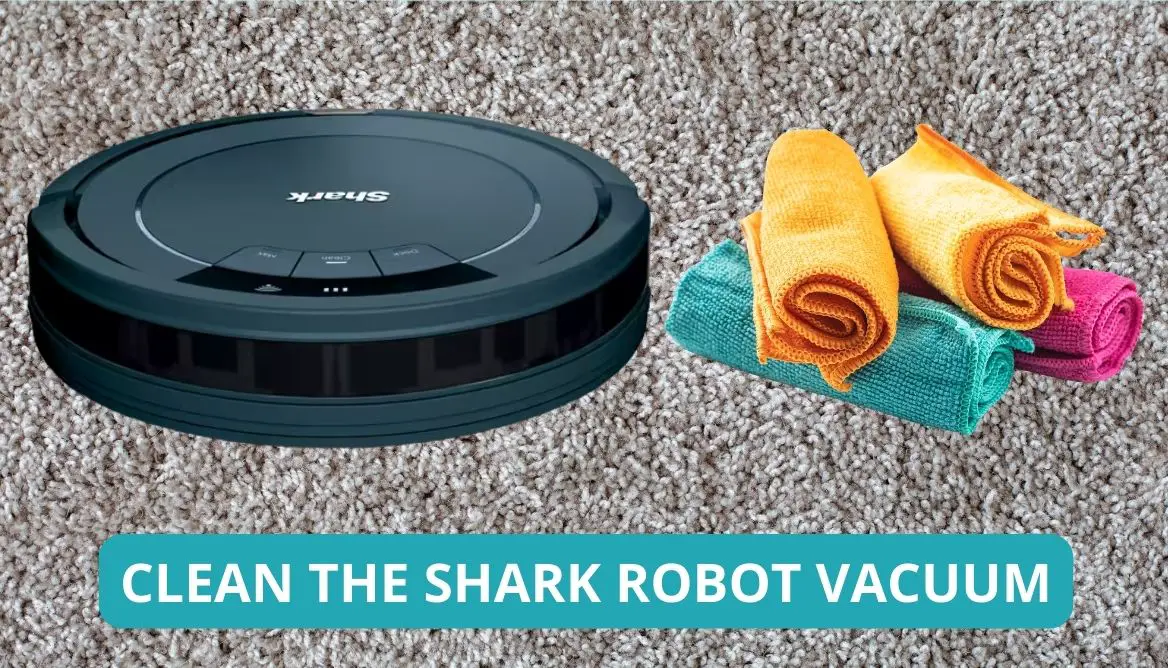
How to Clean Shark Robot Components
The Shark robot has multiple components. I have covered the step-by-step guide for cleaning every Shark vacuum component in one of my previous articles. You can read it here.
Now, let’s look at how to clean the dock.
5. Clean The Charging Dock
The charging station sends infrared signals to attract the robot vacuum.
Over time, dust particles accumulate on the dock surface. The dock has trouble sending the signals. The robot cannot reach the docking station either. Hence it is vital to clean the dock regularly. Here is how to do it.
Steps to Clean the Charging Dock
- Clean the front cylindrical surface of the charging dock with a dry microfiber cloth.
- The charging contacts at located at the lower front side. Clean them as well.
Maybe there is nothing wrong with the Shark robot or the dock. The problem is with their alignment. Let’s look at that in detail.
6. Ensure The Shark Robot Is Aligned Correctly On The Dock
If the Shark robot is not positioned correctly on the dock, power will not flow between them. It means the vacuum won’t charge.
The robot might have trouble docking correctly due to:
- Low battery
- Obstructed sensors
Follow the below steps to fix this problem.
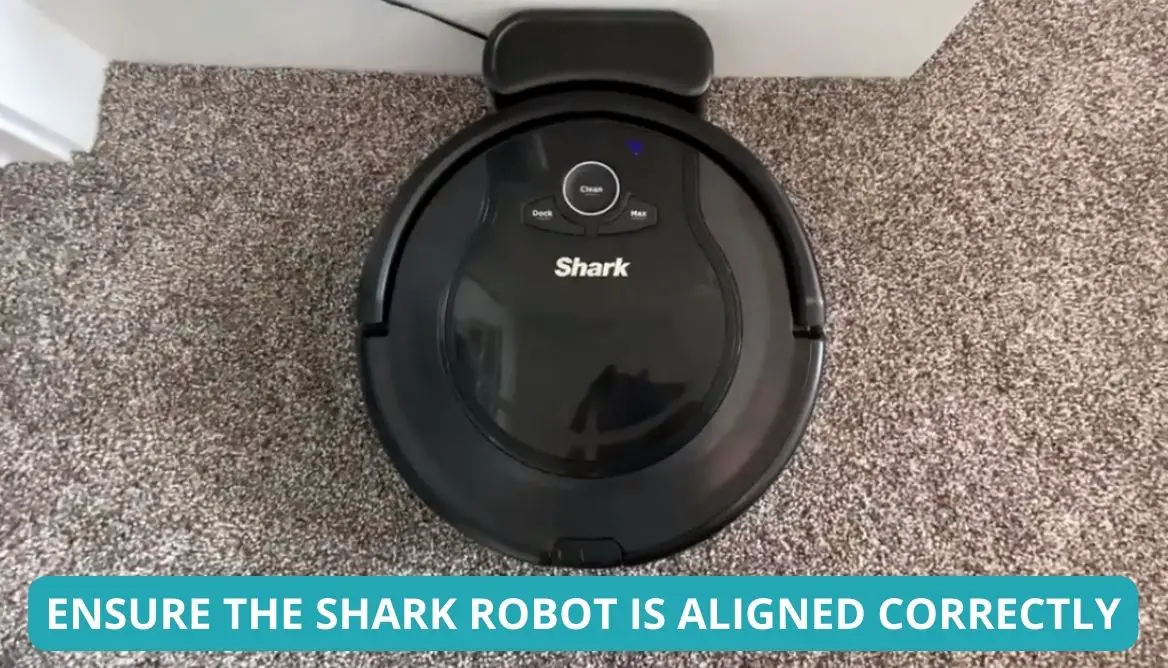
Steps to Сorrectly Position the Shark Robot on the Dock
- If the Shark robot battery level is extremely low, manually place the vacuum on the dock.
- Keep a distance of 0.5 cm between the robot and the dock. You will probably be unable to align the robot with the charging dock in one go.
- Move the robot back and forth until you see a blue light indicator on the robot.
The blue light indicates that the robot is charging.
There is one core component we missed earlier. Let’s see what it is.
7. Check For Loose Contact Plate Springs
Charging contacts on the dock have springs in them. These springs hold the robot in place. The robot will slide off the charging plate if the springs are weak. The robot will try to dock repeatedly, all in vain. Here is how to inspect and fix it.
Steps to Inspect the Charging Plate Springs
- Press down on the charging plate springs.
- If they are rigid, that means the springs are damaged.
- In this case, you need to buy a new dock. There is no other solution for it.
We still have not looked at the main component: the Shark robot battery.
8. Reconnect The Battery
During the cleaning process, the Shark robot’s battery might get off position. Before buying a replacement battery, it is crucial to ensure the current one is installed correctly.
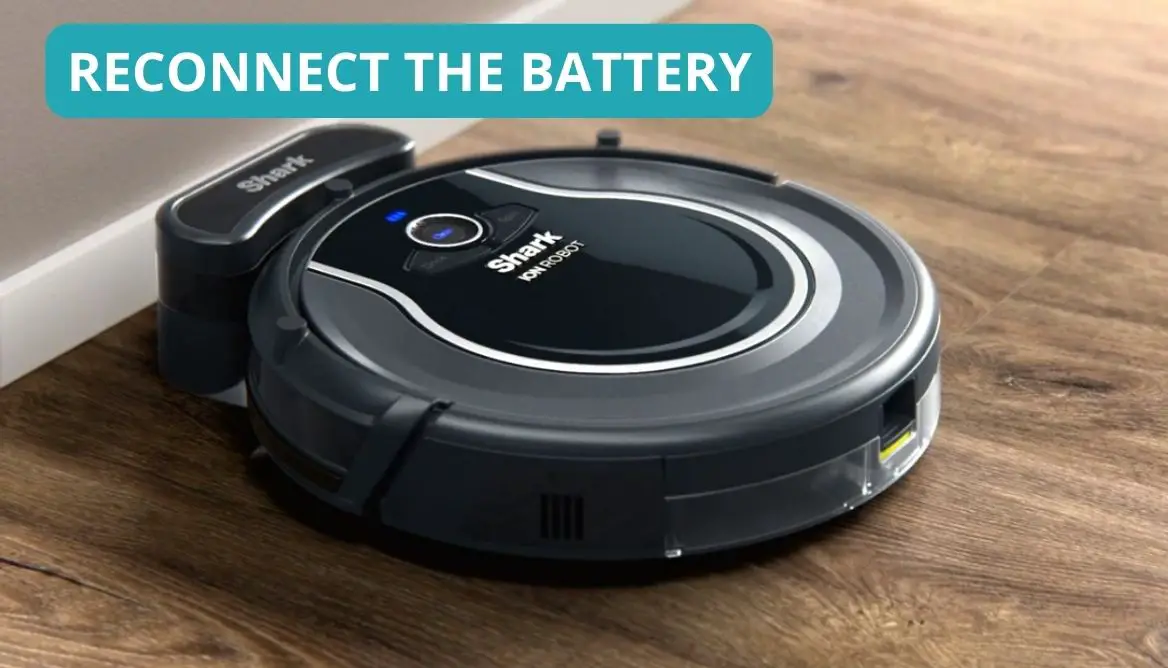
Steps to Reconnecting the Battery
- The battery compartment is situated behind the charging contacts. Locate it.
- Remove the battery cover.
- Pull the battery out and detach the cable from the robot.
- Reattach the cable.
- Place the battery back in the robot.
Restart the Shark robot and check if it is working.
If this does not work, then it is time for you to replace the battery.
9. Replace The Battery
Shark robot batteries wear out in two years. If it has been more than that time, you should consider replacing it with a new one.
Steps to Replace the Battery
- Buy a battery that is compatible with your Shark robot model.
- Once you have it in your hand, it is time to replace the old one.
- Remove the battery cover.
- Pull out the battery and detach the cable from the robot.
- Attach the new battery cable to the robot.
- Place the battery securely in the robot.
- Close the cover.
Hopefully, your Shark robot will start working after installing the new battery.
If the robot still does not charge, you must seek professional help.
10. Contact Shark Support
If none of the above methods work, you need professional help. Contact Shark support and relay your problem to them. Enquire if you can get your Shark Ion robot serviced or replaced under warranty.
Steps to Contact Shark Support or a Local Vacuum Repair Shop
- Go to the Contact Us page on the Shark Clean website.
- Call them on the number mentioned on the website.
- Get your robot repaired by a vacuum repair workshop.
I hope Shark support will be able to resolve your issue. Before ending this guide, I want to give you a few maintenance and troubleshooting tips for your Shark robot vacuum.
Regular Maintenance Of Your Shark Robot Vacuum
Here are a few maintenance tips so that you face fewer problems with your Shark Ion robot in the future:
- Empty the dust canister after every cleaning session.
- Clean the filter regularly.
- Remove debris and hair wrapped around the main rolling brush and side brushes.
- Clean the charging surface with a dry microfiber cloth.
- Ensure the battery is in place.
- Clean the front bumper, infrared lights, and cliff sensors.
- Make sure nothing is stuck in the wheels.
- Clean the dock, especially the charging plates.
- Regularly check for damages to any component.
- Do not make your Shark robot clean up sharp objects or harmful liquids. It will harm the robot vacuum.
FAQs
Why is the battery light blinking on my Shark robot?
If the red light is blinking on your Shark robot, that means the robot is low on battery and needs charging.
Can you leave a Shark battery on charge?
Yes, you can leave your Shark battery on charge anytime. Shark vacuums have rechargeable batteries.
What is the life expectancy of a Shark robot vacuum?
The life expectancy of Shark vacuums is five to seven years.
How do I know if my robot is charging?
You will know your Shark robot is charging by the blue light indicator on the top of the vacuum. All three lines will flash blue if the vacuum is 100% charged. If there is no light or it is flashing red, the robot is not charging.
Conclusion
If your Shark robot is not charging, first check the power switch. Ensure the outlet is working and placed on a hard floor. Ensure the charging contacts are clean and the battery is snuggly fit in its place. If nothing works, seek professional help.
I hope your Shark Ion robot is charging and working efficiently.
What was the issue with your robot vacuum, and how did you fix it? Please comment below.

Danny is a passionate writer who loves to share his knowledge about air purifiers. He’s been writing for 10 years, and he’ll share all that experience with Very Well Home viewers to help you make the best decision when it’s time to buy an appliance!


